Table of Contents
Discover the Step-by-Step Process for Properly Canning Your Produce Using an Electric Pressure Canner
If you love homegrown fruits and veggies, then canning is an excellent way to savour their goodness year-round. An electric pressure canner is a useful tool for preserving garden-fresh produce, but many people shy away from using it because they’re intimidated by the process. Fear not, because with the right knowledge, anyone can learn to use this handy equipment with ease. In this Canning 101 article, we’ll walk you through the step-by-step process for canning using an electric pressure canner. You’ll learn the basics of canning and gain the confidence to make use of your electric pressure canner. Let’s get started!
Benefits of Using an Electric Pressure Canner
Canning using an electric pressure canner is a practical way to preserve food while maintaining its quality and freshness. Here are some of the benefits of using an electric pressure canner:
- Saves Time: The electric pressure canner cuts down the processing time required to can food dramatically. It can reduce the processing time by up to 50% compared to boiling water bath canning. The high pressure and temperature inside an electric pressure canner increase the cooking speed, reducing the time needed to preserve your food.
- Produces High-Quality Cans: An electric pressure canner heats the food to a higher temperature than a boiling water bath canner. The high temperature kills bacteria and ensures that your food is fresh for long periods. Moreover, the electric pressure canner uses a steam method that is rated as the best way to preserve food with both low amounts of air and water, preserving the food’s nutrients and flavors.
- Energy Efficient: Using an electric pressure canner is eco-friendly, and it can reduce energy usage by up to 75% compared to boiling water bath canning. The electric pressure canner is more efficient since it reduces the cooking time by a half for the same results.
- Versatile: An electric pressure canner can be used for canning various types of food, including vegetables, fruits, and meat. Besides, it can be used as a pressure cooker, slow cooker, and rice cooker, making it a versatile piece of equipment for your kitchen.
- Convenient: An electric pressure canner makes it easy to process and preserve food with consistent results. It requires less monitoring, freeing up more of your time to accomplish other things. In addition, the temperature and pressure controls are configurable, ensuring that you achieve perfect results every time.
In conclusion, using an electric pressure canner has numerous benefits, including efficiency, high-quality canning, versatility, convenience, and time-saving. It’s a worthwhile investment for those who want to enjoy preserved food while maintaining its quality. Stay tuned for our next Canning 101 article, where we’ll delve into the steps involved in pressure canning using an electric pressure canner.
How to Choose the Right Canner for You
Choosing the right canner is crucial when it comes to safely preserving your food. Let’s look at the different types of canners and how to select the right one for your needs.
Types of Canners
There are three main types of canners on the market: water bath canners, pressure canners, and electric pressure canners.
- Water Bath Canner: A water bath canner is a simple pot with a lid and a rack to hold jars in place. It’s used for canning high-acid foods like fruits, pickles, and jellies. Water bath canning is safe because the high acidity level of the foods kills any bacteria present.
- Pressure Canner: A pressure canner is a pot with a lid that seals tightly and a pressure gauge. It’s used for canning low-acid foods like vegetables, meats, and poultry. Pressure canning is necessary because the higher acidity level of these foods needs the increased heat from the pressure canner to kill any bacteria present.
- Electric Pressure Canner: An electric pressure canner is an electric-powered version of a pressure canner. It’s designed for people who want to preserve their food but have a gas stove. It’s a great option for people who don’t have a stove top or who want to be more energy-efficient.
Considerations When Choosing a Canner
When selecting the right canner for your needs, consider the following factors:
- Type of food you’ll be canning
- Size of your kitchen and stove
- Your budget
- Your skill level
- Whether you prefer electric or manual canning
In general, if you’re new to canning, a water bath canner is the best one to start with. It’s the easiest to use and the most affordable. However, if you want to can low-acid foods like vegetables or meats, you’ll need a pressure canner.
Choosing the right canner is an important step in the canning process. By considering the type of food you’ll be canning, your skill level, and your personal preferences, you’ll be able to select the canner that suits your needs best. With the right canner, you can preserve your favorite foods and enjoy them year-round.
Required Tools and Ingredients for Canning
Are you ready to jump into the world of canning? Great! Before you begin, let’s discuss the essential tools and ingredients you’ll need to get started with the process.
Tools:
- Electric Pressure Canner: You’ll need an electric pressure canner to process your jars of fruits and vegetables safely.
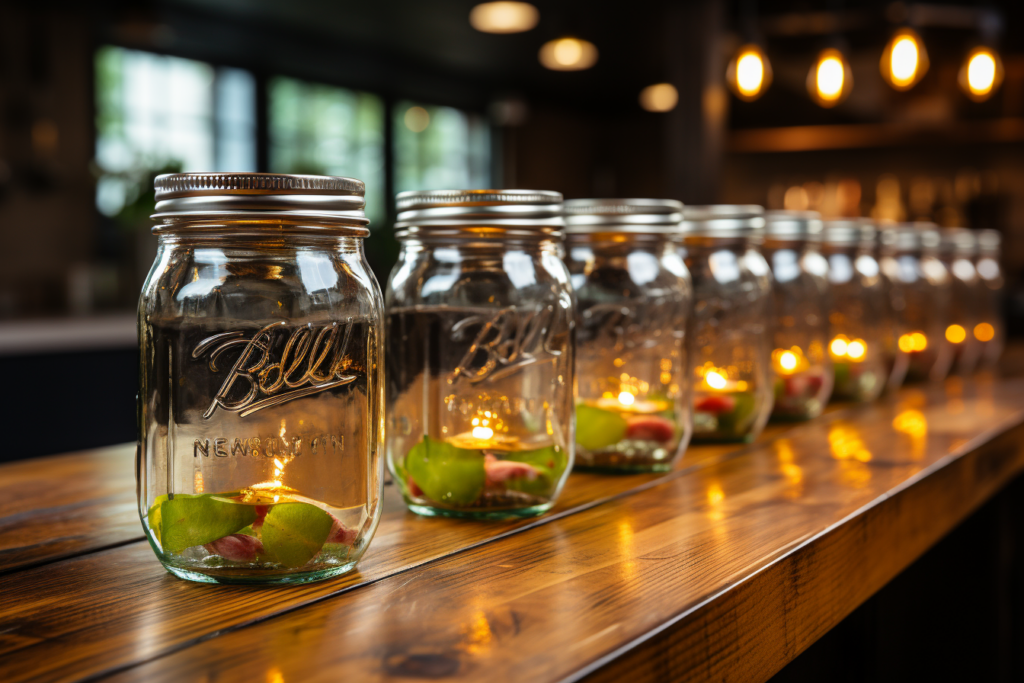
- Jars and Lids: You’ll need canning jars, which typically come in quart or pint sizes. You’ll need an appropriate number of lids and rings to seal the jars after filling them.
- Canning Funnel: A canning funnel comes in handy to fill up the jars without spilling.
- Jar Lifter: A jar lifter will help you place and retrieve hot jars from the canner with ease.
- Bubble Remover: A tool to remove bubbles from filled jars.
- Kitchen Timer: A stopwatch or kitchen timer is vital to keep track of your processing time.
Ingredients:
- Produce: You’ll need fresh and ripe produce to preserve. Choose your fruits and vegetables as per your taste.
- Water: The canner will need plenty of water to process the jars and create the heat required to preserve the food.
- Citric Acid: This is optional but helps preserve your canned goods, particularly if you are using low-acid foods.
- Salt: Required for pickling and seasoning.
- Sugar: Required for sweetening or preserving.
In conclusion, canning is a fun, rewarding way to preserve your garden-fresh produce and enjoy it all year round. Before you start, it’s essential to ensure you have the right tools and ingredients to do the job correctly. Always take precautions while canning. Follow the guidelines and safety recommendations to avoid possible hazards. Happy canning!
Step-by-Step Canning Process Using an Electric Pressure Canner
Canning is an age-old method of preserving food, dating back to the 18th century. While it was once a necessity to keep food fresh for longer periods, today, many people do it for its sheer satisfaction and the quality of the natural flavours. If you’re looking for a way to utilise your garden fresh produce and keep it fresh for months, then canning is your answer. Here’s your step-by-step guide on canning using an electric pressure canner.
Step 1: Clean and Prepare the Equipment
Before you begin, it’s essential to ensure all the equipment is clean to prevent contamination. Scrub the jars, lids and bands thoroughly with hot, soapy water. Rinse and let them dry, while you prepare your produce.
Step 2: Prepare the Produce
Prepare your fruits or vegetables for canning by washing them, peeling if needed, and removing the stems, seeds, pits or core. Cut the produce into the desired size for your recipe and add it to your sterilized jars.
Step 3: Fill the Jars
Be sure to leave headspace, meaning a gap between the lid and food, to allow for expansion during the canning process. Follow the recipe’s instructions regarding headspace, and ensure the jars are packed tightly.
Step 4: Close the Jars
Ensure that your lids and bands are new and clean before securing them in place. The lids will seal during the canning process, so they should be tight but not overly tight.
Step 5: Process the Jars
Place your jars in the electric pressure canner, ensuring that they are not touching each other, and follow your recipe’s time and pressure instructions. Once the process is over, let the jars cool naturally, and once they’re safely removed from the canner, check that the lids are sealed.
Step 6: Store Your Canned Produce
Label your jars with the contents and the date of the canning. Store your jars in a cool, dark place that is out of the way of sunlight.
Using an electric pressure canner is an excellent way to can. It saves time, takes less effort and is perfect for canning low-acid food. The key to successful canning is using reliable equipment and following your recipe and instructions, so be sure to read both thoroughly before you begin. With this guide, you’re now equipped with the knowledge on how to use this terrific tool confidently. Happy canning!
-How to Store Your Canned Goods Safely
Canning is an excellent way of preserving your garden-fresh produce and enjoying its goodness throughout the year. However, it’s essential to know that proper storage is vital to ensure your preserved foods remain safe for consumption. In this article, we will explore some crucial tips for safely storing your canned goods.
1. Label and Date Your Canned Goods
Proper labeling and dating will help you determine the shelf life of your canned foods. It’s essential to include the date and type of food canned. This information helps you plan your meals and rotate your stock by consuming the oldest first. Place the labels in a visible location on the lid of your jars or on the side of larger cans.
2. Store in a Dark, Cool, and Dry Place
Canned foods should be stored somewhere cool, dry, and dark to guard against spoilage, discoloration, or loss of vitamin content. Basements, cellars, pantries, and shelves in cool rooms are excellent storage areas for canned goods. Make sure your storage area isn’t damp, humid, or exposed to sunlight, as any of these factors could cause spoilage.
3. Keep Jars Off the Floor
It’s best not to place your canned goods directly on the floor, particularly if you live in a damp or humid area. Doing so can cause rust on the lids or spoilage of the bottom part of the foods. Instead, place your jars on shelves or in a closed cabinet that is sturdy enough to hold them.
4. Check for Signs of Spoilage or Leakage
Check your canned foods periodically for signs of spoilage or leakage. Bulging lids, leakage, or a bad smell can are indications of spoilage. If you notice any of these signs, don’t consume the food. If stored correctly, canned goods should have a shelf life of up to a year.
5. Use your Oldest Cans First
As the shelf life of canned foods varies depending on the type of food, it’s essential to use your oldest cans first. This will help you avoid food spoilage and waste. Properly rotating your stock can ensure that you are always using the freshest foods.
Safe storage is an essential aspect of canning. Following the tips highlighted in this article can help you safely store your canned goods and enjoy them throughout the year. Remember to label and date your canned goods, store them in a cool, dry, and dark place, check for signs of spoilage or leakage, and use your oldest cans first. With these tips, you can experience the best of garden-fresh produce long after the growing season.
Troubleshooting and Common Mistakes to Avoid
Canning is an excellent way to preserve seasonal fruits and vegetables for enjoyment throughout the year. However, several mistakes can turn this fun activity into a nightmare. Let’s explore some common mistakes to avoid when canning using an electric pressure canner and learn how to troubleshoot them.
Over or Under Processing Your Canned Food
One common mistake made during the canning process is over or under processing your canned goods. Over-processing can result in mushy or discolored canned foods, while under-processing can lead to bacterial growth.
Here’s how to avoid both:
- Refer to canning recipes for specific processing times.
- Invest in a reliable timer to ensure that you don’t process your canned food for too long or too little.
- Make sure you follow the instructions of your electric pressure canner accurately.
Loose or Leaking Lids
Canned goods canister’s lids sometimes become loose or leaking due to incorrect procedure or defects in the canning jar. When this happens, it can allow bacteria in, rendering your canned goods inedible.
Here’s how to avoid it:
- Use jars that fit your electric pressure canner and follow the correct filling guidelines.
- Before processing, ensure that the jar lids seal correctly by performing the “tap test,” where the lid will make a popping sound when you tap it in the center.
Unattractive Canned Food
The canned food might look unattractive due to discoloration or cloudy liquid.
Here’s how to avoid this:
- Use fresh, high-quality ingredients.
- Pack your ingredients tightly into the jars, leaving minimal headspace.
- Use fresh sealing tops and apply the correct heat for the right amount of time.
Low Acid Foods
Canning low acid foods pose a risk of botulism. Such foods include meat, vegetables, and starchy vegetables.
Here’s how to keep food safe:
- Invest in a cooking thermometer to guarantee that your food reaches and sustains an internal temperature of 240 degrees Fahrenheit before removing it from the canner.
- Store your low acid canned food in a cool, dry place for long-lasting freshness.
Canning your produce using an electric pressure canner is both rewarding and straightforward, especially once you’ve mastered the basics. Avoiding these common canning mistakes and knowing how to fix them will help you produce the best-canned goods possible. With these tips, you’ll soon be enjoying delicious produce throughout the year. Happy canning!
Conclusion
Using an electric pressure canner is a fantastic way to preserve your favourite fruits, vegetables and other produce. With the right tools and knowledge, anyone can easily can their food at home, but it’s important to follow the instructions and take the necessary safety precautions. This guide has covered everything from choosing the right canner to troubleshooting common mistakes and storing your canned goods safely. Whether you’re a novice or an experienced canner, you now have the skills and confidence to use an electric pressure canner with ease. So gear up and get canning – enjoy your home-grown produce all year round!

